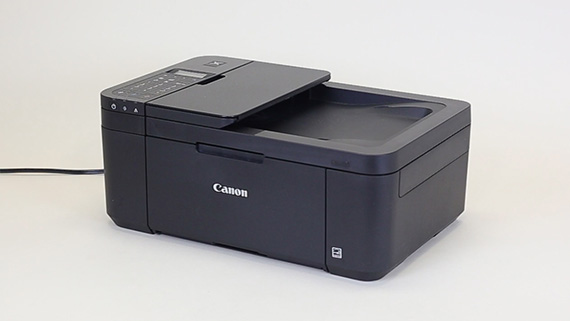
TR4527 First Time Setup
TR4527 First Time Setup
- 1 Prepare

- 2 Connect

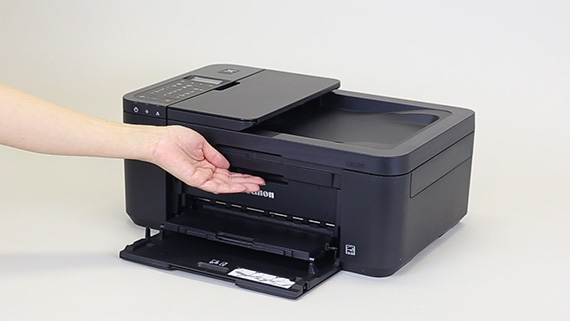
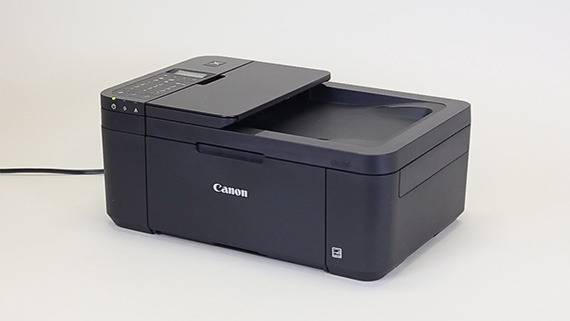
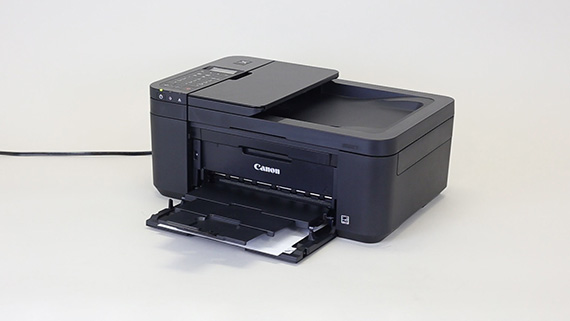
1 Preparing the Printer
-
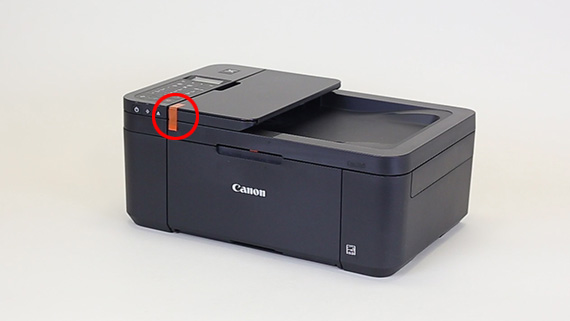
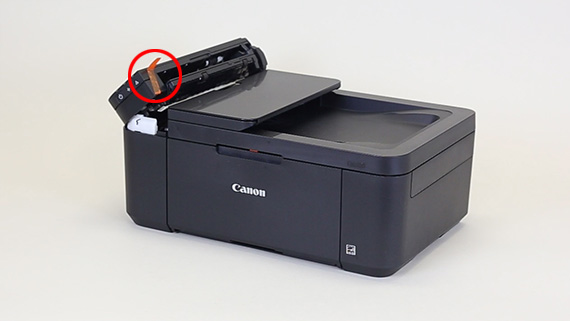
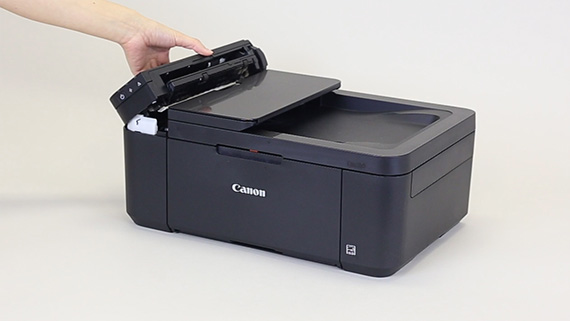
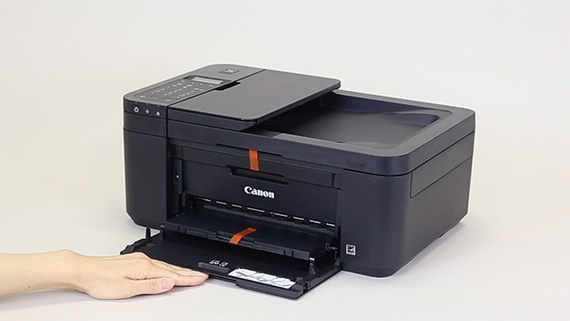
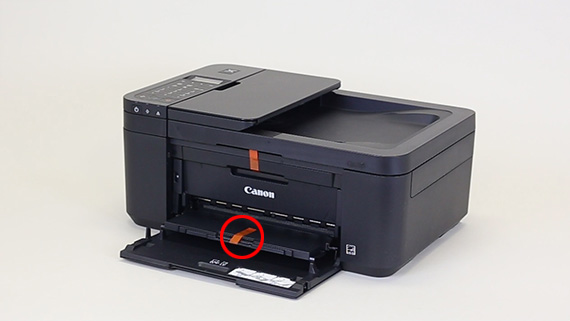
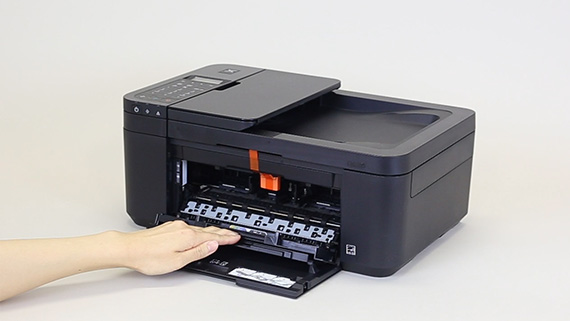
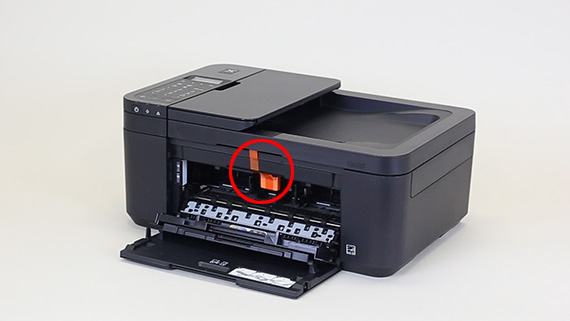
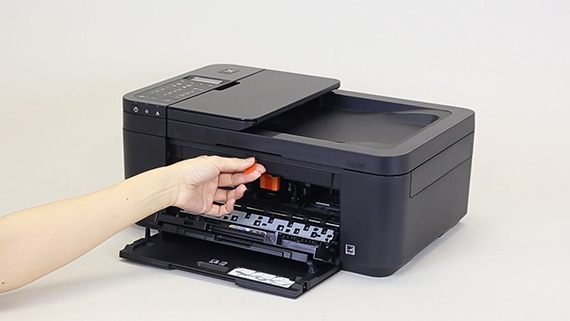
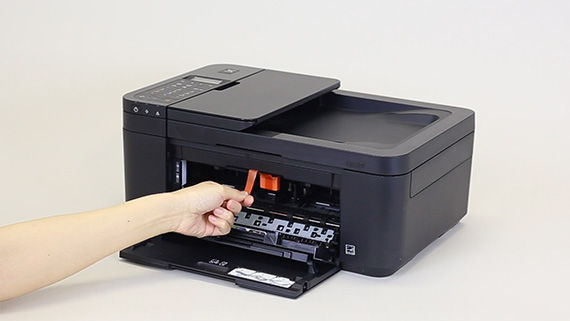
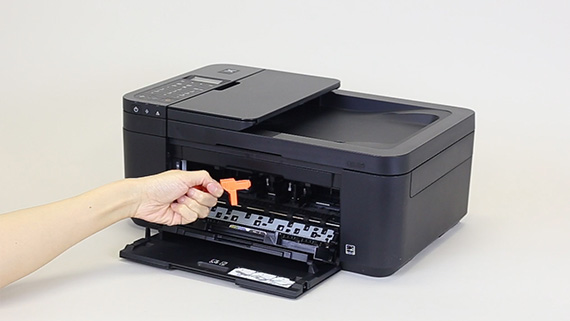
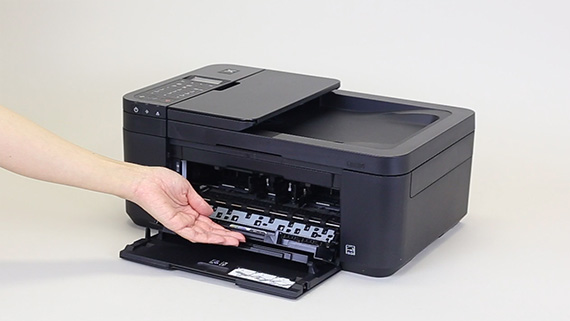
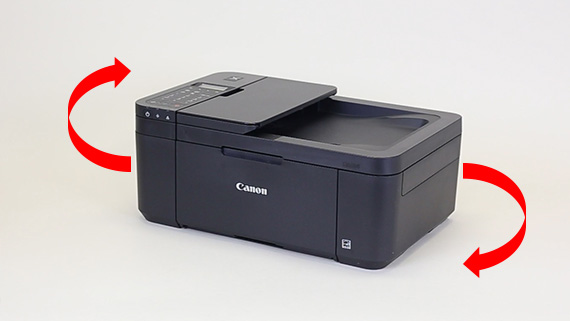
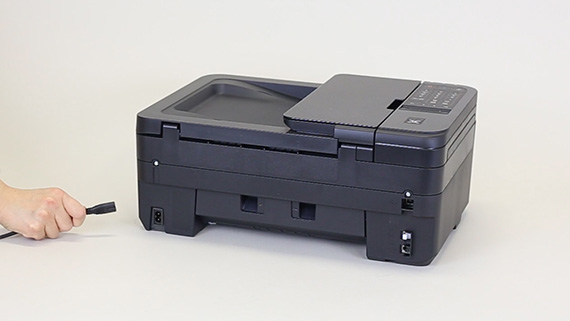
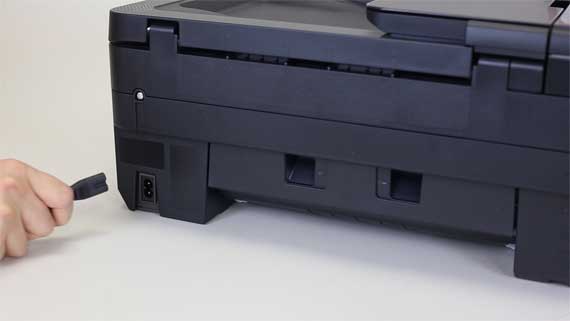
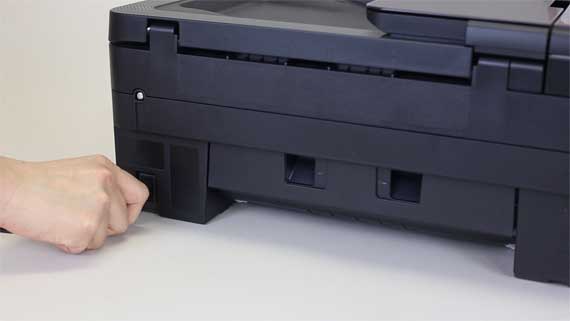
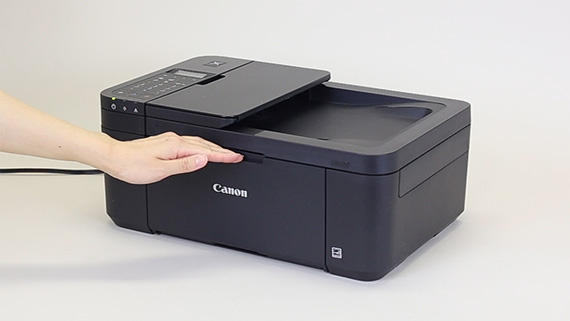
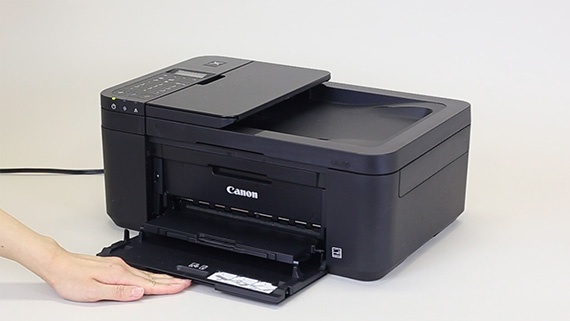
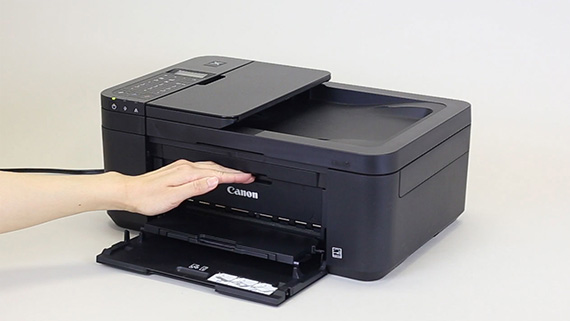
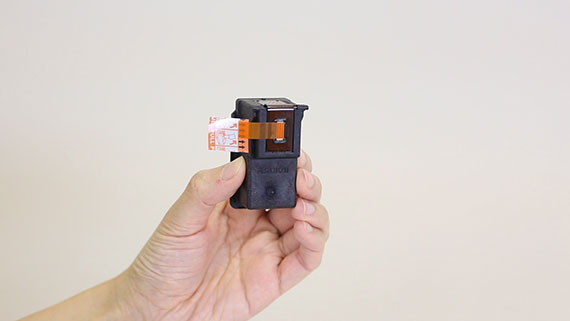
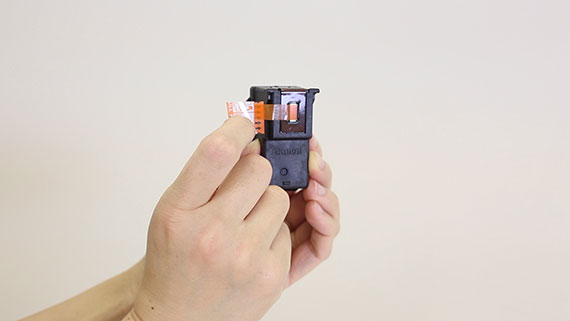
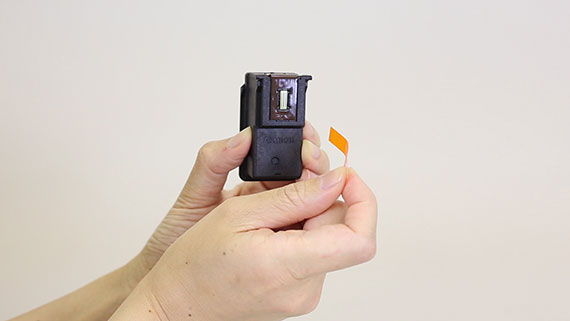
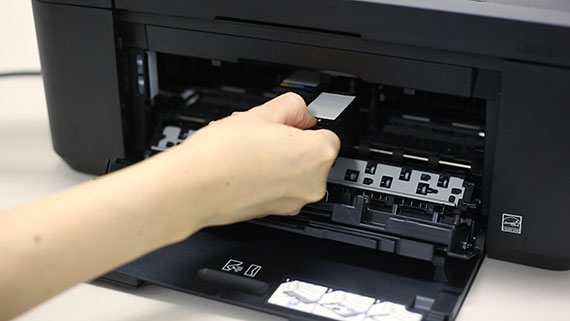
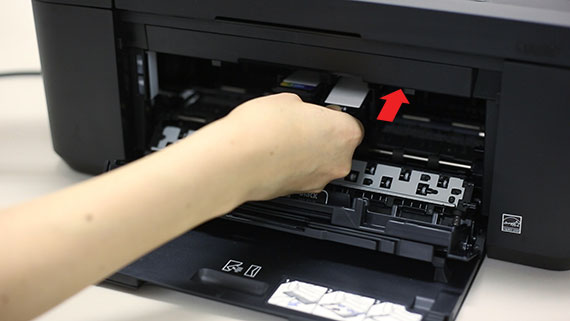
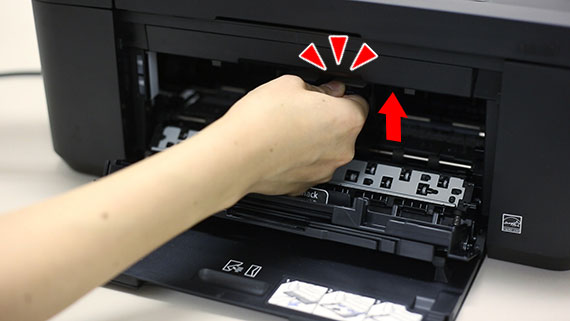
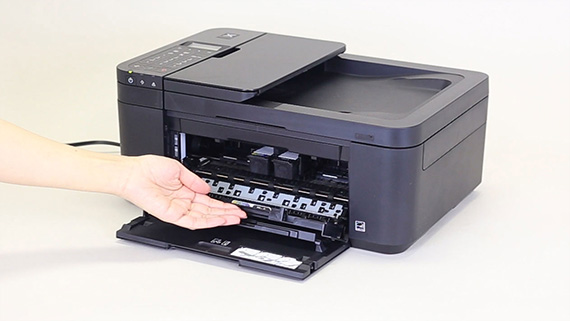
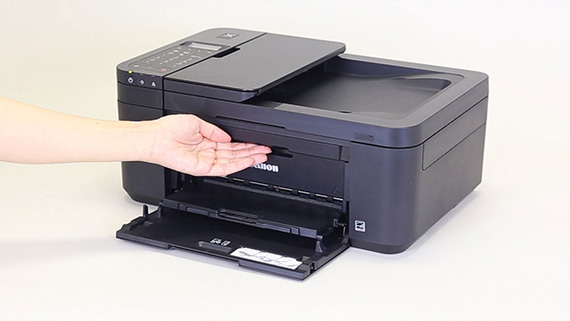
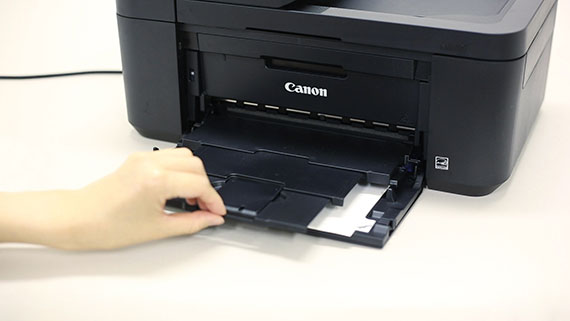
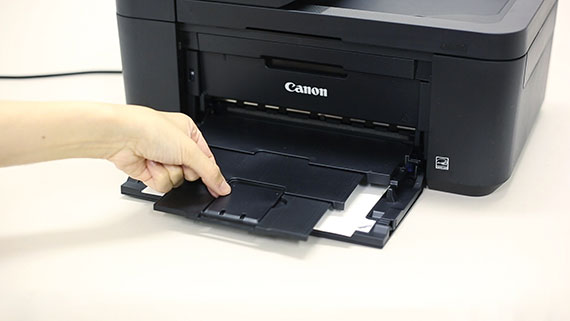
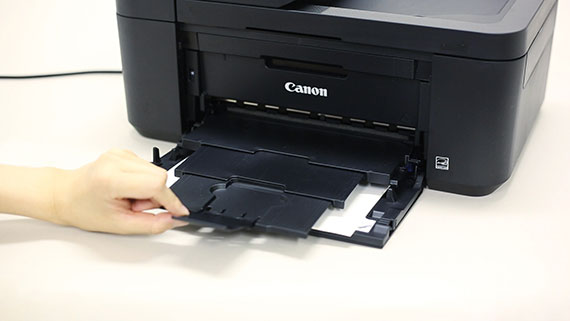
- Remove all the orange tape and protective material

-
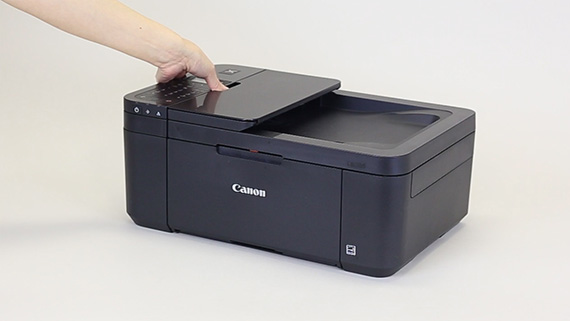
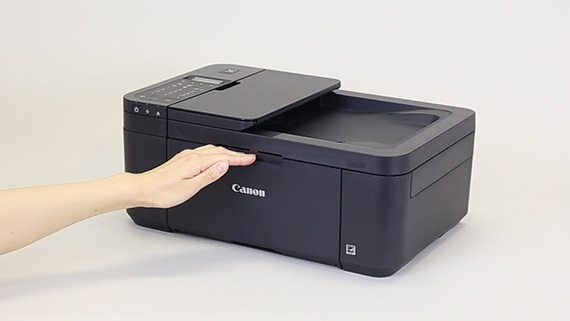
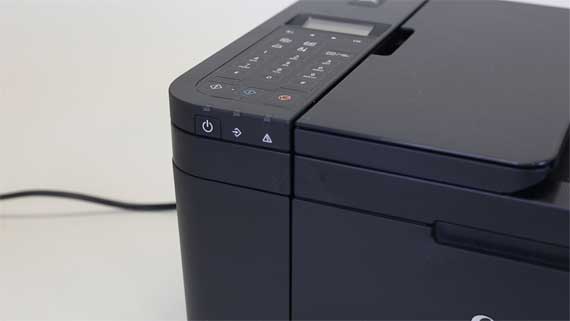
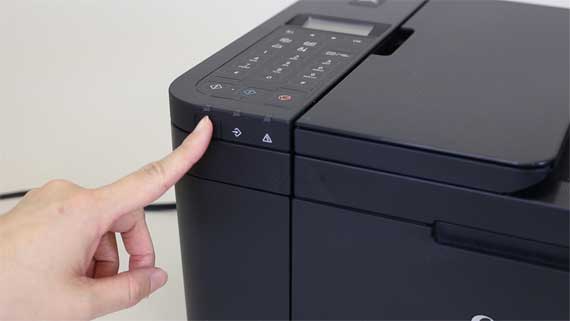
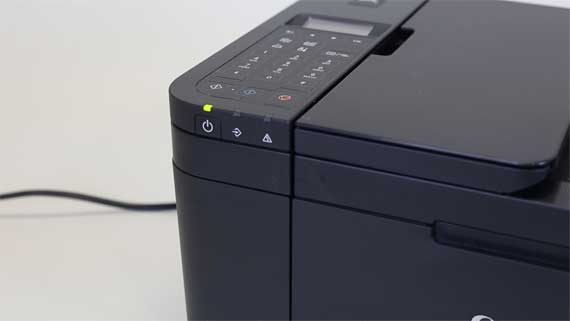
Turn on the printer
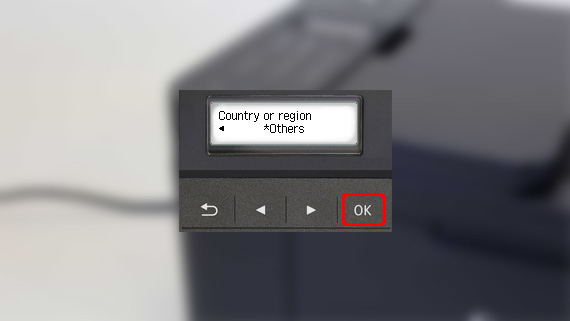
If an error appears on the screen
A protective material may be left attached.
Press the ON button to turn off the power, remove all protective materials, and then turn the power back on.


-
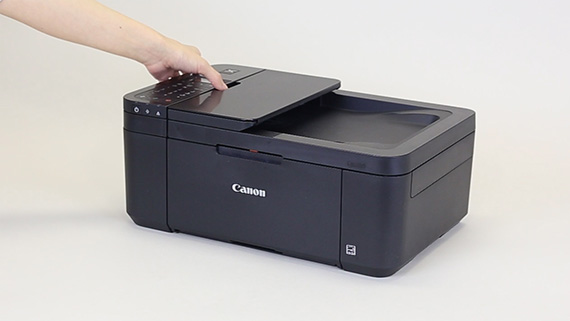
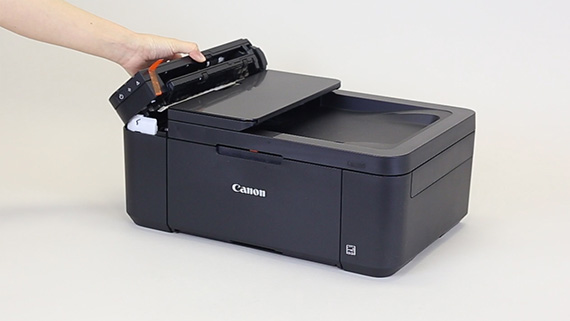
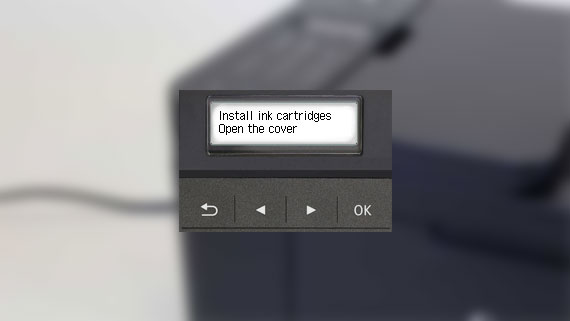
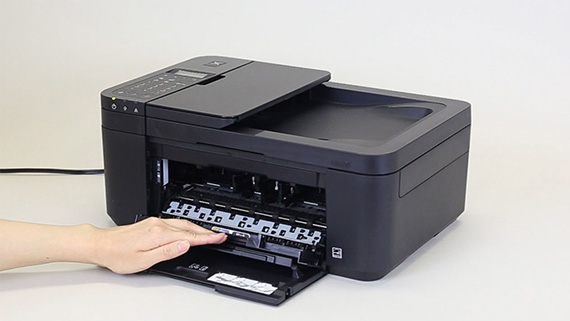
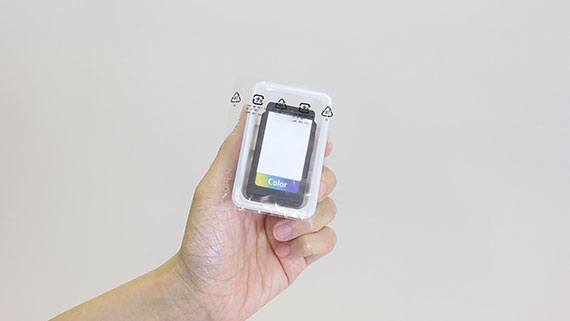
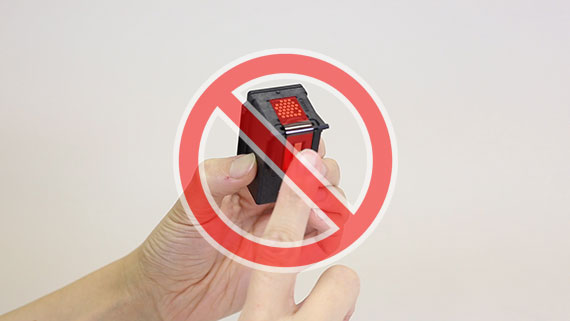
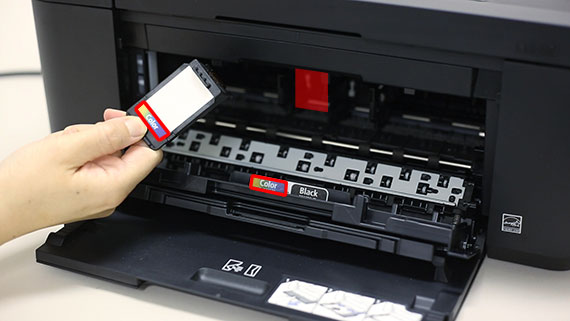
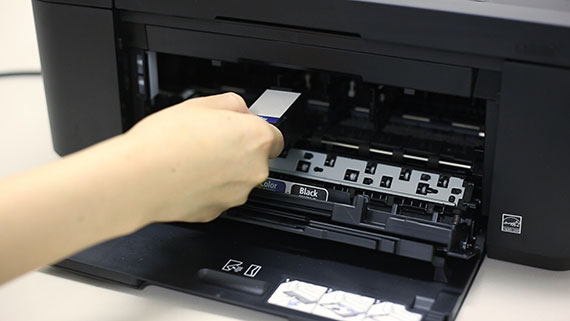
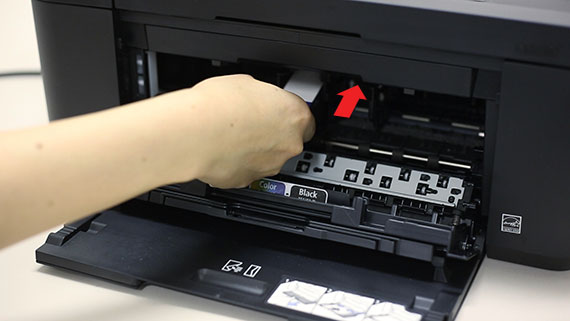
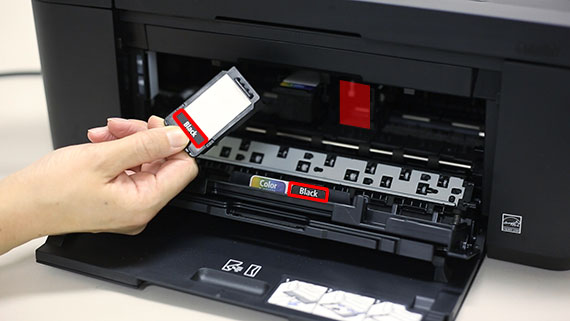
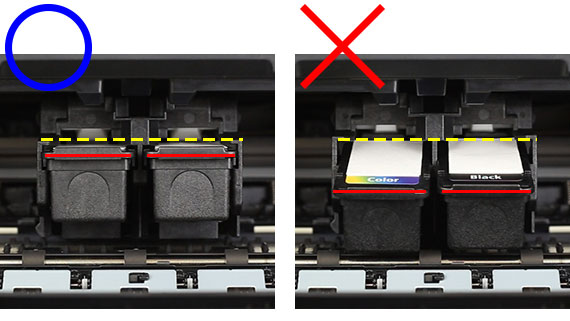
Install the ink
If an error appears on the screen
The ink is not installed properly.
Reinstall the ink.

-
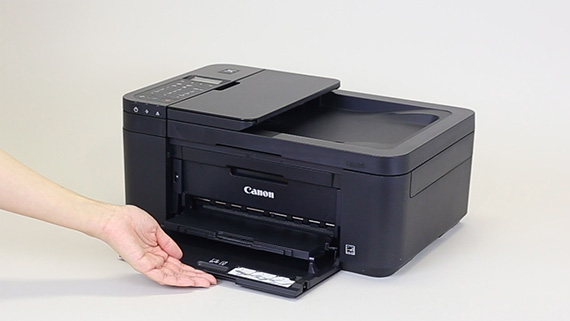
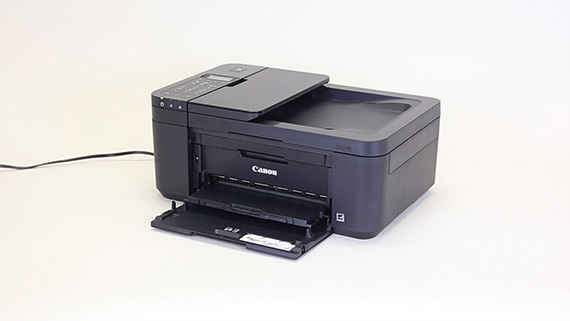
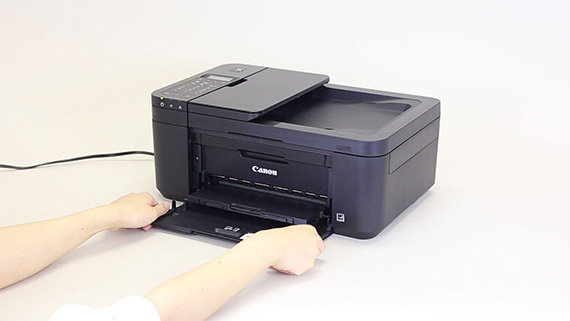
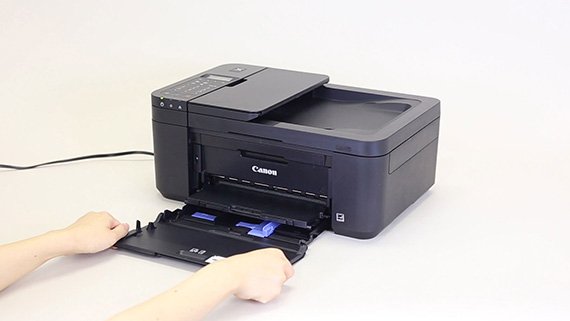
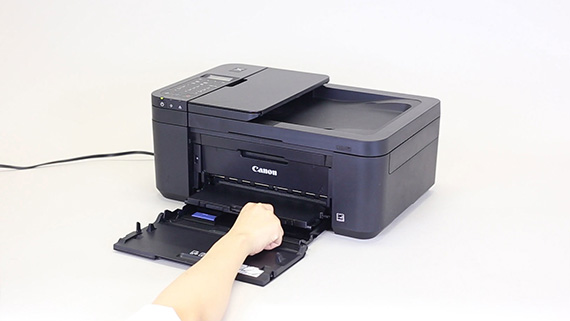
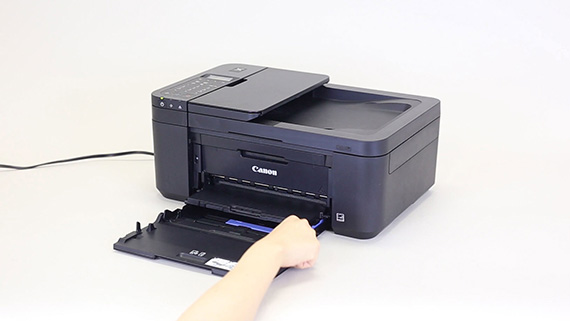
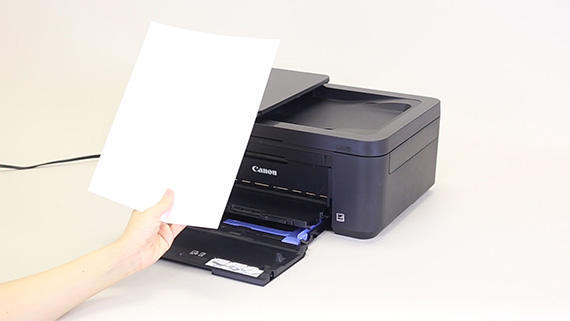
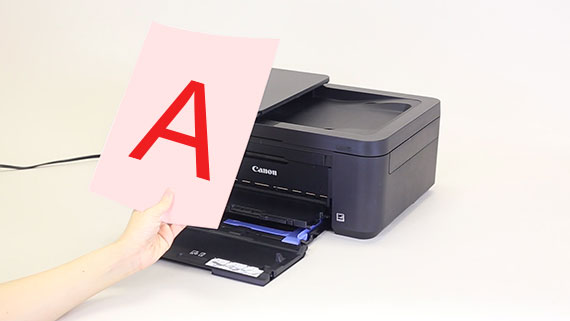
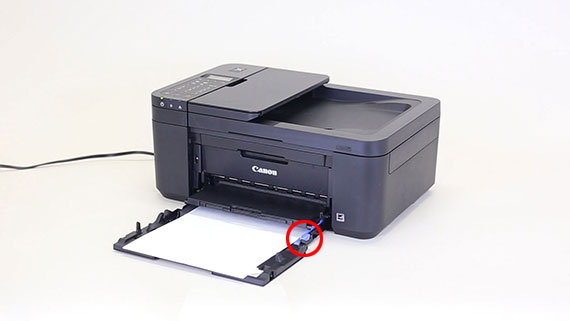
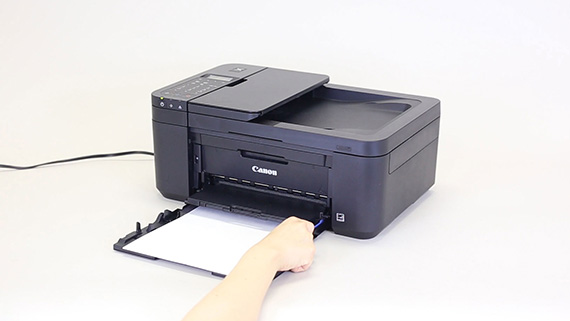
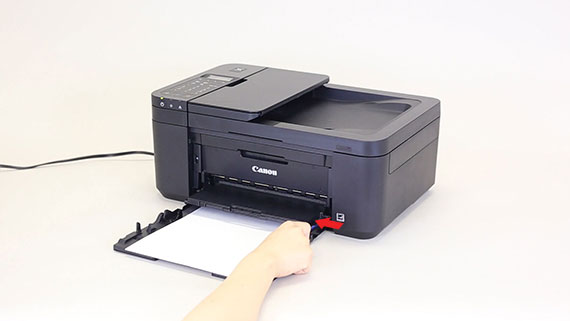
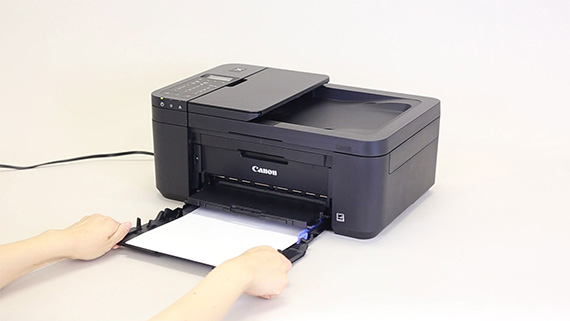
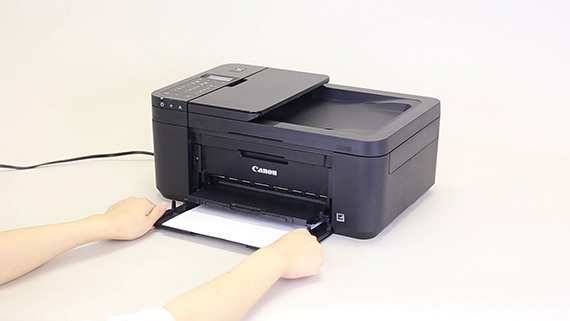
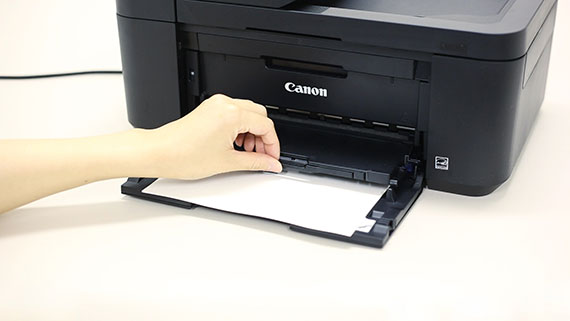
Load plain LTR or A4 size paper
If an error appears on the screen
The ink is not installed properly.
Reinstall the ink.

-
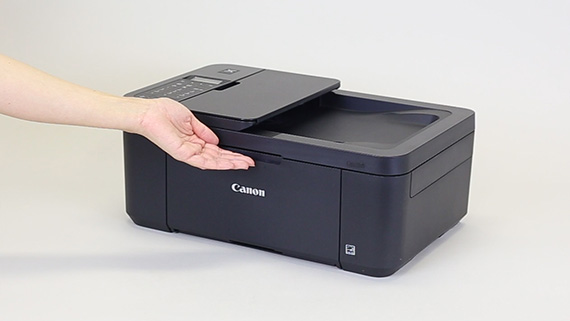
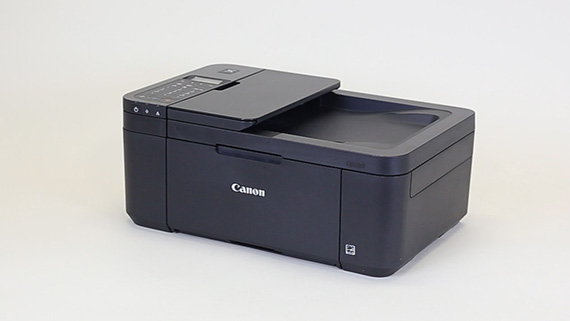
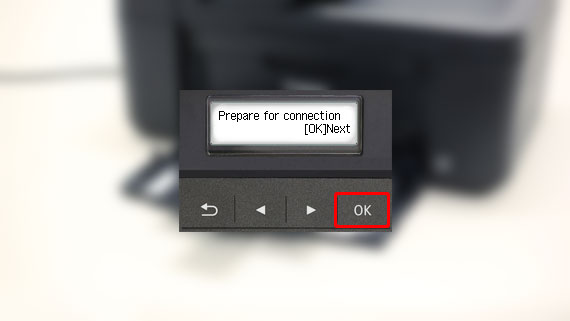
"1 Preparing the Printer" is complete.
The printer is now ready to be connected to a computer.
2 Connecting to a Computer
-
You must set up your printer to work with this computer (Chrome OS).
-
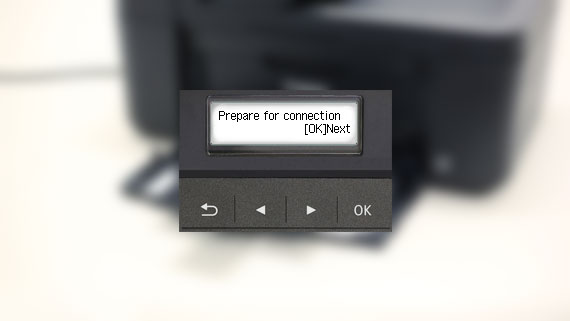
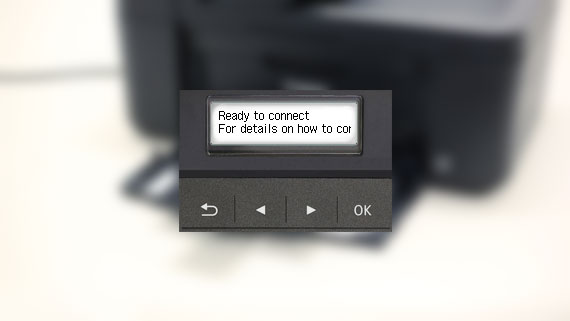
Prepare your printer
-
Connecting to a network
Refer to Setup Guide - TR4500 series - for details on connecting your printer to a network.
-
Connecting with a USB cable
Connect your printer to your Chromebook with a USB cable.
-
-
Add your printer to your Chromebook
For details, refer to the Chromebook Help pages (external website).
- Want to connect to your smartphone instead?
-
Access this URL from the smartphone/tablet you want to use with the printer


- https://ij.start.canon
- Select
 Set Up
 - Enter your printer's model name and tap Go
- Tap Start and then tap If you have already prepared your printer, go to Connect
- Follow the instructions
-
-
-
- Remove all the orange tape and protective material
https://ij.manual.canon/ij/webmanual/WebGS/WGS/wgs_connect.html?lng=en&type=setup&area=ca&mdl=TR4527&os=c


Comments
Post a Comment